
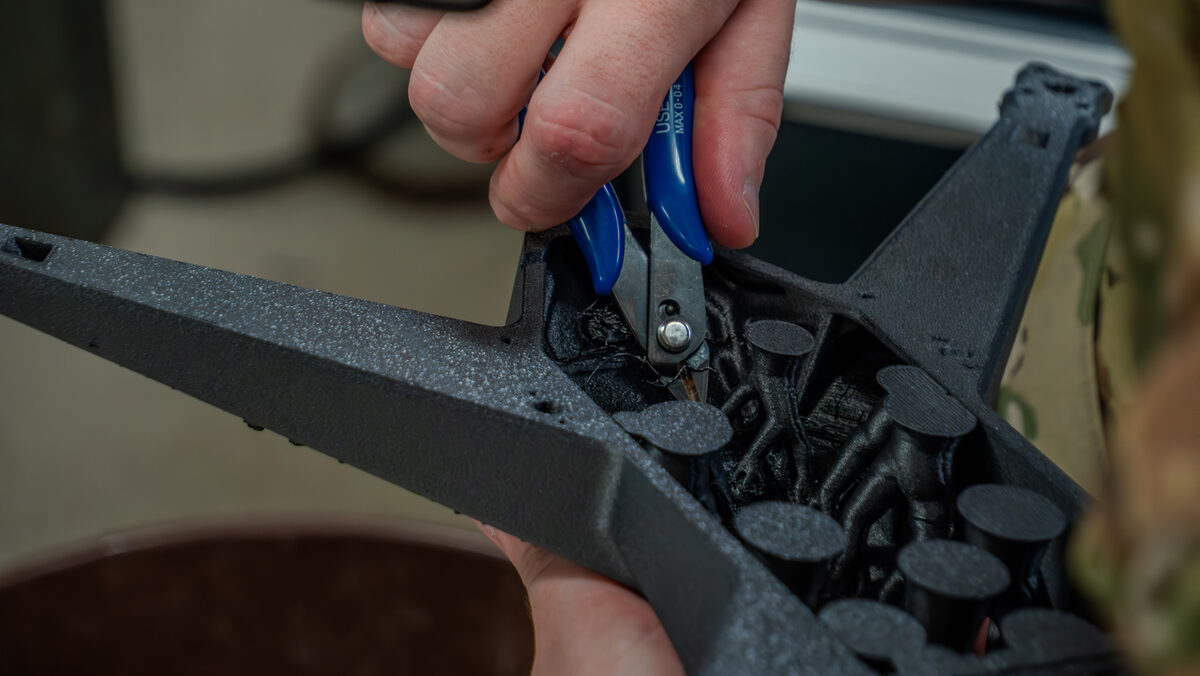
Auto-generated supports are one of Bambu Studio's best party tricks — until they scar a visible surface, weld themselves inside a cavity, or prop up an overhang that would have bridged just fine on its own. The fix is taking manual control, and Bambu Studio offers more of it than most users realize. The slicer's official Support Painting Guide describes a system where painted areas are marked as "enforcer" or "blocker" regions — places where support is forced to appear or forbidden from appearing — layered on top of a full page of support types, styles, and distances. This guide walks through the complete manual-support workflow: painting, blocker objects, the manual-only support modes, and the settings that decide whether supports pop off cleanly or take chunks of your print with them.
The Support Painting Tool
Support painting lives in the top toolbar and activates once an object is selected. Click the icon and Bambu Studio enters an editing mode where only the selected object is shown, rendered in gray so your paint strokes stand out: manually painted support areas appear in green, and if you have an auto support type selected, surfaces steeper than the threshold angle are highlighted in a different color so you can see what the slicer already plans to support.
The controls are worth memorizing. The left mouse button paints enforced areas, the right button paints blocked areas, Shift plus left-click erases, and Alt plus the mouse wheel adjusts pen size. Four brush types cover different jobs: Circle is a pen for drawing curves across visible surfaces; Sphere colors every facet inside the sphere, including ones hidden from view; Fill floods a connected patch of facets outward from your cursor and stops at sharp corners; and Gap Fill detects the small unpainted gaps your other strokes leave behind and fills them to match their neighbors. Since version 1.10.0, Bambu Studio also lets you paint on vertical surfaces — useful for tall, thin parts that need bracing against collapse even though no overhang triggers auto-support there.
Enforcers, Blockers, and Blocker Objects
Painting is one of two blocking methods. The other, per the Bambu Lab support wiki, is adding a blocker object: right-click the model, select "Add Support Blocker," and choose a primitive shape — a cube works fine, since every shape serves the same function. Position it with the move tool over the region you want kept clear, and after slicing, no support will generate inside its volume. Because primitives are easy to move, scale, and copy, this method beats painting for quickly masking large areas like flat undersides or big protruding sections. Painting wins for precision work — a logo on a curved surface, the underside of a small ledge — where a box would be clumsy.
Note how painting interacts with the support type you've chosen. With an auto type selected, painted enforcers add to whatever the slicer detects automatically. If you want only your painted areas supported, switch the type to Normal (manual) or Tree (manual): both generate supports exclusively on support enforcers and ignore everything else. That is the real "full manual" mode, and it pairs naturally with a quick pass of the Fill brush over the two or three overhangs you actually care about.
Tree vs Normal, and the Styles Beneath Them
Bambu Studio's supports come in two basic architectures. Normal supports project each overhang straight down to the bed; tree supports sample overhangs into nodes and propagate branches downward, enlarging and steering them away from the model to avoid collisions. Each has styles that change its character. Normal supports offer Grid — the default, which expands the support region into normalized rectangles — and Snug, which hugs the overhang outline tightly when expanded supports would cause side effects. Tree supports offer Tree Slim (aggressive branch merging for minimal material), Tree Strong (conservative merging, sturdier but harder to remove), Tree Organic (the smooth-branched style that originated in Cura and was ported via PrusaSlicer), and Tree Hybrid, which drops normal grid supports under large flat overhangs and trees everywhere else. By default the slicer picks Tree Organic, switching to Tree Hybrid when a dedicated support material or adaptive layer height is in play. Our support structures guide covers when each architecture wins in more depth.
The Settings That Decide Removal
Two numbers matter most. The threshold angle — 30 degrees by default — sets how steep a surface must be before auto-support triggers; larger values mean more support. And Top Z Distance sets the gap between support and model: bigger values release easier but print uglier undersides, smaller values do the reverse. The wiki's guidance is to keep roughly 0.2 mm when supports are printed in the same filament as the part, and drop to 0 only when the interface uses a dedicated support filament such as Bambu Support for PLA or PVA, which combine flush, smooth support surfaces with easy separation.
Interface layers are the other lever: at 0 top interface layers the supported surface sags between support lines, while 3 layers builds a stable platform beneath it. To save time and material, the wiki recommends running dedicated support filament only for the interface layers and using ordinary model filament for the support base beneath them.
Per-Object Control
All of this is applied per object, not per plate. Painting mode only ever edits the selected object, and Bambu Studio's object list supports per-object parameter overrides — so a mechanical part can carry Snug grid supports with three interface layers while the figurine next to it uses manual tree enforcers only. For a deeper walkthrough of brush technique specifically, see our earlier support painting guide; and if you're printing with soluble interfaces, our PVA and BVOH guide covers the material side. The workflow that works: slice once with auto supports to see what the slicer thinks, block what offends you, enforce what it missed, and only go fully manual when you know exactly where the part needs help.
