
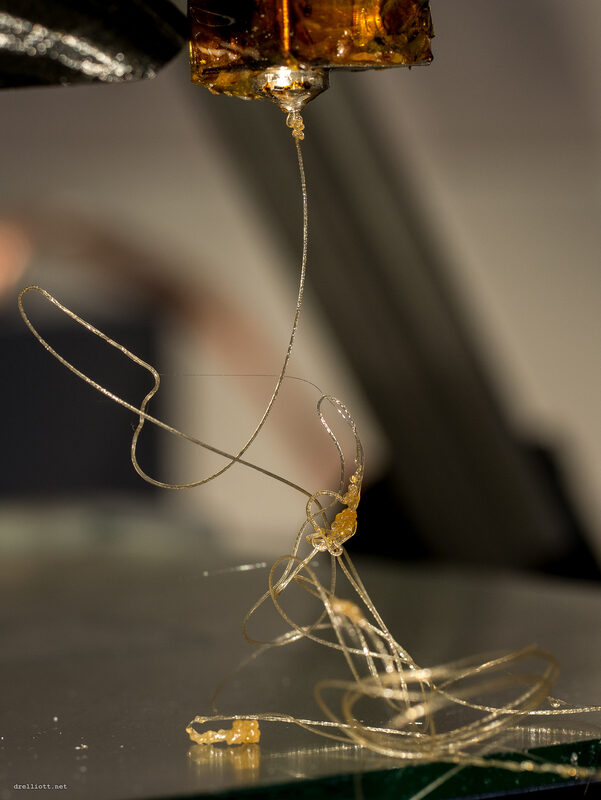
Flow rate is the least glamorous number in a filament profile, and the most consequential. It doesn't show up in a render, and most people only think about it after a print has already failed — but every wall thickness, every layer weld, and every glossy or grainy surface traces back to whether the extrusion multiplier is telling the printer to push out the right amount of plastic. This guide covers why that number matters physically, how Orca Slicer and Bambu Studio each approach measuring it, and — the part most calibration guides skip — how to organize the flow values you find so they don't evaporate the next time you load a spool or switch printers. For the full step-by-step cube-test walkthrough, see our companion piece, How to Calibrate Flow Rate and Extrusion Multiplier; this article picks up where that one leaves off.
What the Extrusion Multiplier Is Actually Scaling
When a slicer plans a line of plastic, it calculates a theoretical volume: line width times layer height times distance traveled. The extrusion multiplier is a scaling factor applied on top of that calculation, per the Bambu Lab wiki, which describes flow rate as "the amount of filament the printer's extruder pushes out of the nozzle, measured as a percentage or multiplier of the default amount." The multiplier exists because that theoretical volume and the real volume that comes out of a given nozzle on a given filament are rarely identical — diameter tolerance, gear grip, melt viscosity, and even color all shift the real number away from the ideal one.
What Actually Breaks When Flow Is Wrong
Ellis' Print Tuning Guide ties the extrusion multiplier directly to per-filament material properties and tolerances — it "must be done, at a minimum, per filament brand/type," and can vary by color or spool — and the failure modes split cleanly by direction. Too much EM, in the guide's words, "will look and feel rougher," as excess plastic has nowhere to go but sideways and up, distorting walls and corners. The Bambu wiki adds that over-extrusion shows up as visible blobs or layers that read as thicker than they should be. Under-extrusion is the mirror image: Ellis notes it leaves "gaps or valleys between the extrusion lines," and those same gaps mean adjacent lines and layers never fully fuse — which is where weak interlayer adhesion and prints that snap along layer lines come from. Dimensional accuracy suffers for opposite reasons in each direction: over-extrusion grows a part beyond its designed size, under-extrusion leaves it small. That's why flow calibration comes before fine-tuning almost anything else — the correct volume of plastic per millimeter of travel is the foundation every other setting sits on.
The Quick Sanity Check
The fastest way to see where flow currently sits is a single-wall cube or hollow test print measured with calipers against its designed wall thickness: thicker than commanded means flow is too high, thinner means it's too low. That's the idea behind Ellis' widely used method, which we've already covered step by step — printing, measuring, and doing the math to land on a new multiplier — in our flow rate calibration walkthrough. If you haven't tuned printing temperature yet, do that first: temperature shifts flow numbers underneath you, so work through our temperature calibration tower guide before locking in a flow value.
Orca's Wizard vs. Bambu Studio's Own Flow Tools
Orca Slicer's built-in calibration, per the official wiki, defaults to a "YOLO" method: eleven test blocks print in a single pass, each nudging the flow ratio within a ±0.05 range, and you pick the block with the smoothest top surface and no visible gap between its inner spiral and outer arcs. A legacy two-pass method exists for finer control, printing nine blocks and then ten more to narrow in on a value.
Bambu Studio, despite sharing Orca's codebase, runs its own separate flow calibration flow rather than exposing Orca's block wizard. Its Flow Rate Calibration page splits the process into Auto-Calibration and Manual Calibration. Auto-Calibration, exclusive to the X1 series, uses the printer's onboard Micro-Lidar to scan the calibration pattern and return a computed flow value with no visual judgment required — though transparent, sparkly, or highly reflective filaments can throw the sensor off. Manual Calibration works on any Bambu machine in two stages: Coarse Calibration spans 80%–120% of the current flow ratio in 5% steps to bracket a rough range, then Fine Calibration narrows that across a 91%–100% band in 1% steps. Once found, Bambu Studio saves the value into a new filament preset, or overwrites the original by reusing its name — it becomes a permanent part of that filament's profile rather than a number you have to remember.
Building a Filament Library That Doesn't Rot
A flow value is only useful if it survives past the print it was measured on. Bambu Studio's naming convention for custom filaments, laid out in its custom filament guide, is "Vendor Type Serial @Printer" — selecting multiple printers when creating a filament generates a matched user preset for each one, and a "Copy Current Filament Preset" option merges a system preset with your tuned values into one new profile. Presets sync to AMS-equipped printers on firmware 1.6.6+, but cloud storage is capped at 20 printer presets, 100 process presets, and 200 filament presets per account; beyond that, new presets stay local until manually exported and imported onto another machine. Orca Slicer's filament profiles instead inherit from parent templates, which is efficient but fragile — editing or deleting a parent can silently break every profile built on it, so exporting `.orca_filament` bundles and backing up your user preset folder before updates is the practical defense.
When to Actually Recalibrate
Flow isn't a "set once" number. According to Printara3D's calibration guide, recalibration is worth doing whenever you change filament brands, switch nozzle diameters, make a major print-profile change such as a big layer-height jump, or load a new spool from a different production batch — batch, dye, and moisture content all shift flow even within the same nominal material. That covers color changes too: pigment loads differ between colors of the same line, so a value tuned on one color is only a starting estimate for another. Rather than recalibrating on a fixed schedule, watch for the symptoms that started this process — a drop in top-layer quality or a shift in measured dimensional accuracy — and treat those as the signal to run the test again.
