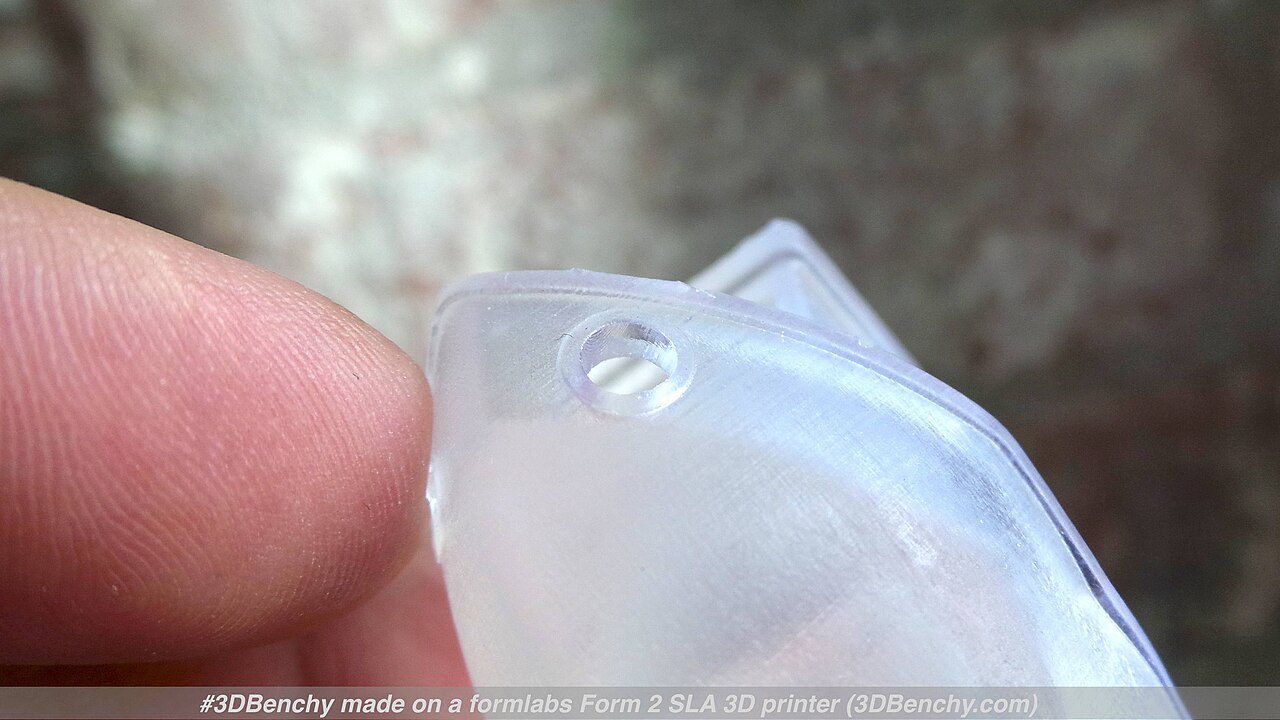
The smallest Benchy most makers will ever see in person is usually a few millimetres long and printed on a resin machine with a well-tuned build plate. The open-source RepRapMicron project has gone a good deal smaller. Its newly documented PIKA UV Head, written up on the project's GitHub wiki, cures UV resin in place through an ordinary optical fibre patch cord fed by a UV LED module. The result is a Benchy about 0.5 mm long and printed structures down to roughly 9 µm. What makes it worth more than a curiosity is that the wiki page doubles as a build guide: parts list, wiring, a G-code filter for PrusaSlicer and a step-by-step operating procedure are all there.
As Hackaday's Maya Posch reported, the print was made in eSun Standard Resin, and the head is honest about its limits. Overhangs remain the weak spot, and Hackaday says they will be addressed in future revisions.
A Different Way to Point Light at Resin
Conventional resin printers cure a whole layer at once, either by masking a light source with an LCD panel or by steering a laser across a vat. The PIKA head takes a more direct, almost FDM-like approach: the business end of an optical fibre is moved through the resin, and wherever the light is switched on, resin hardens. Instead of a nozzle laying down molten plastic, a point of UV light solidifies liquid in situ.
That framing explains much of the design. The light source does not need to sit anywhere near the build. An LED module is held in alignment with one end of the fibre by a printed adaptor, and the other end becomes the "nozzle" carried by the motion system. The wiki describes the approach as an adaptation of an existing method for curing UV resin in situ, using commonly available fibre leads and LED modules.
The wiki notes that the UV beam cures resin to a depth of 100 µm or so. That is far deeper than the 9 µm resolution quoted for the system, and it is why overhangs are hard. The project's suggested mitigation is a UV-absorbing dye, such as curcumin, added to the resin. The wiki also points out that the deep cure can be used as a feature, since it lets a considerable volume of structural resin cure relatively quickly.
The Bill of Materials
The hardware list is the most striking part of the guide, because almost none of it is exotic.
- Fibre: a 9/125 µm single-mode duplex patch cord, the sort of jumper found in any network cabinet. It has been expediently converted to simplex with a hacksaw.
- Light source: a "3W" UV LED module. The wiki puts the quotation marks around the rating because the manufacturer's figure is dubious, and Hackaday agrees that it may or may not be the true rating. The module is intended to be driven at 5 V, and it uses an aluminium PCB as its heatsink.
- Mechanics: an adaptor holds the LED against the fibre with two M3 x 20 mm screws, washers and nuts. Source files live in the repository's UV_head folder, and pre-built STLs are published on Printables.
- Control: a RAMPS 1.4 board drives its D9 output, the "Coolant Mist" pin, which is switched with G-code M7. A 56 Ω, 5 W resistor sits in series with the LED, because the board drives that output at 12 V while the module is rated for 5 V.
Reusing the coolant-mist output is a tidy bit of repurposing. The UV source becomes, from the controller's perspective, just another accessory that toggles with the toolpath. The wiki connects the resistor to a screw terminal block rather than solder, because the 5 W resistor gets exceedingly warm.
Slicing at Micron Scale
The software side is handled by a Python script, fibre_process.py, that post-processes G-code produced by PrusaSlicer in "Marlin" mode. The filter does two jobs. First, because there is no extruder, it detects any move where the extruder axis is being driven forward and uses M7 and M9 to turn the coolant-mist driver on and off, so the light is on where plastic would have been deposited. Second, it scales the print up by a factor of ten.
The scaling exists because of a limit in the slicer. According to the wiki, PrusaSlicer needs to run at a scale of 1 mm to 10 µm, as it will not permit the use of a "9 mm" nozzle, and the filter rescales the result to microns. It is a pragmatic choice. Borrowing a mature slicer that already handles perimeters and infill lets the hardware work move forward.
After the Print
Once a part is done, the post-processing will be familiar. Hackaday notes that the usual SLA routine applies: clean off uncured resin, from both the part and the fibre, then cure the part. The wiki's version is more delicate than a rinse bath. The resin is extremely soft when the probe is lifted away, so the slide is washed with isopropyl alcohol applied in drops from a syringe or fine pipette under a microscope, then exposed to a UV lamp. The fibre tip also needs cleaning after each use, or a film of cured resin will build up on it and prints will take the form of puddles.
What It Means for Makers
For most people, the PIKA head is not a replacement for a resin printer, and it is not trying to be one. Its value lies elsewhere.
First, it shows how far you can push resolution with common parts and a hobby controller. A single-mode patch cord, a cheap LED module, a power resistor and a RAMPS board are, in the wiki's words, standard commercial components that should be readily available in most localities. For makers curious about microfabrication, that lowers the barrier considerably.
Second, the approach is instructive even if you never build one. Treating light as a toolhead, and re-using an FDM slicer and the coolant output on a common controller board to drive it, is the sort of cross-pollination open hardware is good at. The 10x scaling trick and the extrusion-to-M7/M9 mapping are small, legible pieces of code that others can adapt.
Third, the limits are clearly stated. The roughly 100 µm cure depth and the resulting trouble with overhangs are documented rather than hidden, and the curcumin suggestion gives experimenters a concrete starting point. The uncertain LED rating is a reminder to measure rather than trust a label, especially when the resistor value is chosen around it.
If you want to try it, start at the wiki: the source files in UV_head, the Printables STLs, the wiring notes for the LED and resistor, and fibre_process.py are the core of the guide. Expect overhangs to be where your first prints fail.
Bottom Line
RepRapMicron's PIKA UV Head turns a single-mode patch cord and a modest UV LED into a resin "nozzle" capable of features around 9 µm and a Benchy half a millimetre long. It is experimental, overhangs are still a problem, and the hardware involves some improvisation with a hacksaw. But it is open, documented and built from parts makers can actually buy, which is exactly what the RepRap lineage has always been about.