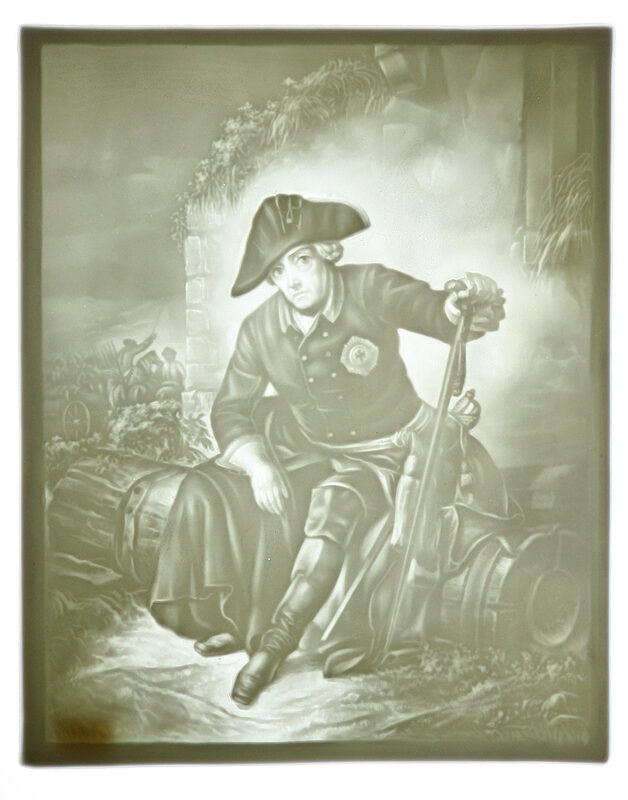
Snapmaker has released a Color Lithophane Generator, and it fits into a toolchain the company already controls end to end. As the Snapmaker blog walkthrough describes it, you upload a photo to Snapmaker Lab inside Snapmaker Space, choose a display style, and export a model to Snapmaker Orca. Orca maps the model's colors to loaded filaments, and the job prints on the four-toolhead Snapmaker U1 using a filament set made for this kind of print. This guide follows the workflow from start to finish, lists the hardware involved, and notes where the process still needs your judgment.
Where the Tool Lives
The generator is the first tool in Snapmaker Lab, which VoxelMatters reported on 18 November is an AI creative workspace inside Snapmaker Space. Snapmaker Space opened a public beta in September, and Snapmaker says more Lab tools will follow. That puts the lithophane generator at the front of a planned set of tools rather than as a one-off feature, and it shows how Snapmaker wants the pieces used together: Lab produces the model, Orca slices it, and the U1 prints it.
You don't need to sort out mesh generation, layer heights or color separation yourself. You do need to accept Snapmaker's ecosystem at each step. The supported workflow named by both sources is the U1 with Snapmaker's CMYK Lithophane Filament Bundle. Neither source covers other printers or filament.
What You Need
- Software: Snapmaker Space, with access to Snapmaker Lab, where the generator runs. Snapmaker Orca handles slicing.
- Printer: The Snapmaker U1, whose four independent toolheads let it print several filaments in one job.
- Filament: The Snapmaker CMYK Lithophane Filament Bundle. Snapmaker says its transmission distance presets are tuned for lithophanes. It is a different product from the CMYW Full Spectrum bundle, so check which box you are ordering.
- Display hardware: A frame, backlight and power supply, depending on which mode you choose. The filament bundle includes none of them, so buy them separately.
Step 1: Choose the Right Photo
Snapmaker's advice is to pick a clear image with a simple background and good contrast. This step largely decides the result. A lithophane renders an image through a translucent panel, and busy backgrounds or flat, low-contrast photos give the generator less to separate. A well-lit portrait against a plain wall will usually work better than a crowded group shot in dim light. Choose your best source image before you open the tool, because later adjustments can't add detail that isn't in the photo.
Step 2: Pick a Display Mode
The generator has three modes, and each one implies different hardware:
- Frame Style places the panel in a portrait or landscape frame with a backlight board. This suits a desk or shelf piece that looks finished.
- Light Box Style lets you set your own dimensions and is lit by an LED strip. Pick it when you want a particular size; Snapmaker describes it as a printed housing around the panel, aimed at tabletop pieces.
- Color Lithophane Only produces a standalone panel with no enclosure. It suits makers who already have a lighting setup or want to design the housing on their own.
Choose the mode with the finished object in mind. The first two assume you will buy the matching frame or light parts, so price those in before you commit.
Step 3: Generate and Adjust
After the model is generated, set the orientation and aspect ratio, then crop, zoom and rotate the image until the composition works. Treat this like framing a print. Anything near the edge of the panel will sit next to the frame or light box, so leave margin around faces and other important detail. If you are using Light Box Style with custom dimensions, set the aspect ratio first and crop to fit it. Don't crop freely and then try to force the result into the box.
Step 4: Slice in Snapmaker Orca
Import the generated model into Snapmaker Orca. Orca maps the model's colors to filaments automatically, which removes a slow and error-prone part of multicolor lithophane work. Automatic doesn't mean you can skip checking it, though. Snapmaker's own instructions tell you to review the assignments, so confirm that each mapped color matches the filament loaded in the corresponding U1 toolhead before you send the job. A swapped spool on a four-color print can throw off the whole image, and you won't see it until the panel is lit.
Step 5: Print on the U1
Print with the U1 and the CMYK Lithophane Filament Bundle. Snapmaker's case for the bundle is that its transmission distance presets are tuned for lithophane printing. Snapmaker also says the CMYW Full Spectrum bundle is a different application, so the lithophane workflow is built around the CMYK one. After printing, assemble the display with the appropriate backlight.
Step 6: Judge It Under the Right Light
Snapmaker gives two practical warnings. First, evaluate the panel with the backlight you actually plan to use. Backlighting is what reveals the image, so the same panel can look different under a different light. Second, expect printed colors and fine detail to differ from the screen image. Snapmaker says results depend on the source picture, filament, generator settings, slicing and lighting. Before spending filament and print time on a large panel, set your expectations accordingly. When it matters, a smaller test print under your real light source is a sensible precaution.
What It Means for Makers
For anyone who has made a multicolor lithophane by hand, Snapmaker's pitch is simple. The tedious steps, generating the model, separating colors and assigning filaments, are now handled by the toolchain. The generator runs inside Snapmaker Space, Orca does the color-to-filament mapping, and the filament bundle comes with presets tuned for the job. A process that used to take real experimentation becomes a guided sequence.
The cost is commitment to one vendor's stack. The supported path is a U1, Snapmaker's slicer and Snapmaker's lithophane filament, and frames, backlights and power supplies are extra on top. If you already own a U1, the tool is an easy reason to try color lithophanes. If you don't, it isn't a reason to buy one by itself, but it does show what Snapmaker intends Lab to become. With more tools promised for the workspace, this generator previews how Snapmaker plans to tie software and hardware together.
In practice, the inputs and your own checks still matter. Start with a strong photo, check Orca's filament mapping, and judge the result under the light it will live with. The software handles the conversion, but you still choose the photo and decide whether the finished panel looks right.