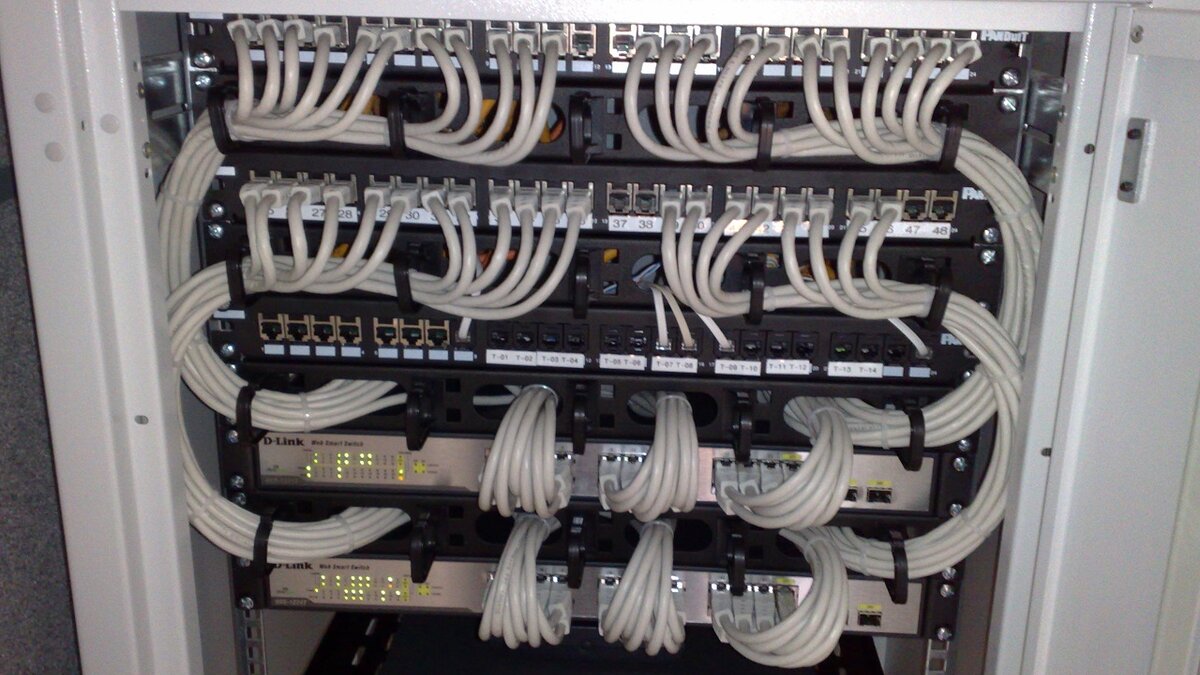
The 10-inch rack has become a common format for small homelabs: narrow enough for a shelf or a desk corner, big enough to hold a switch, a couple of mini PCs and a few Raspberry Pis. It is also a format makers like to print. A new free tool, PrintableRacks, goes after the dull part of that kind of project, which is working out whether everything will actually fit before you start a print or put a switch in your cart. It runs in the browser, needs no account to plan, and saves your last rack locally. Hackaday covered it on November 20, presenting it as a way to tidy up a homelab.
This guide covers what the planner does, how a planning session goes, and where its checks stop.
What's in the Box
According to the project's site, PrintableRacks currently has 17 rack frames. Seven are designs you print yourself and ten are ready-made commercial frames. The parts catalog lists 706 items from 160 brands and designers, and there are 10 starter builds for anyone who would rather edit an existing layout than start from an empty frame. Hackaday also notes that you can import your own parts, which matters for anyone running an odd mini PC or a custom bracket the catalog doesn't include.
Putting printed and purchased frames in the same tool is a sensible choice. Plenty of homelab builders end up mixing the two: a store-bought frame holding printed shelves and blanking panels, or a printed frame holding off-the-shelf switches. Since the planner treats both kinds of frame the same way, you can compare the options on fit instead of guessing.
A Planning Session, Step by Step
The workflow has three steps.
1. Pick a frame. Choose one of the 17 frames and set its height and depth. These two numbers drive most of the later checks, so it is worth measuring the space you have before you choose them.
2. Drop in gear. Add shelves, switches, mini PCs, Raspberry Pis, patch panels and power hardware from the catalog. The tool hides parts that don't fit the frame's rails, so a 10-inch build won't fill up with 19-inch gear. That keeps the picker manageable when the catalog has more than 700 entries.
3. Get a print-and-buy list. The output splits the build into parts to print and parts to buy. It includes filament for the printed parts, typical prices, and source links. You can copy the list, download it as CSV, or print it. The CSV is the most useful of the three if you track filament use or project costs in a spreadsheet.
The Fit Checks, and Why They Matter
The checks are what make this more than a parts list. Per the PrintableRacks site, the planner validates the following:
- Rail standard. It tells 10-inch and 19-inch rails apart and flags mismatches, for example a 19-inch switch placed in a 10-inch frame.
- U slots. It tracks rack-unit occupancy so two devices can't be placed in the same space.
- Headroom above shelves. It checks that a device on a shelf fits under whatever is mounted above it.
- Width against the clear opening. On a 10-inch rack it compares each item's width with the 222 mm clear opening.
- Depth overhang. It reports in millimeters how far a device sticks out past the frame's depth.
- Front/rear sharing. It accounts for devices mounted on the front and rear of the same unit.
- Running totals. It keeps cumulative figures for power, weight, cost and filament as you build.
The 222 mm figure is the check that will most likely save someone a reprint. Lots of small gear is sold as "fits a 10-inch rack" or looks like it should, and a few millimeters of case or bracket width decides whether it slides in. Getting a millimeter readout of depth overhang before you commit to a frame depth is just as practical, particularly for a printed frame, where adding depth costs print time and filament.
Where the Tool Stops
The project states plainly what it does not do, and builders should keep that in mind. PrintableRacks does not model cables, PoE power budgets, airflow or heat. Hackaday makes the same point: the tool checks basic physical fit, and leaving room for cables and airflow is up to the user.
Load rating is the biggest gap for a printed rack. The planner has a load check, but none of the frames currently in the catalog publishes a load rating, so the tool can only show total weight. A Hackaday commenter asked how much load these printed parts can bear. The planner can't answer that today, because none of the frames has a published rating. The site's own five frames are labeled first drafts that have been checked in software and sliced but not printed or load-tested by anyone yet. That makes the weight total a figure you have to interpret yourself, not a pass or fail. A rack loaded with several mini PCs, a switch and a power strip can get heavier than you'd expect, and the strength of a printed frame depends on choices the planner doesn't know about.
Heat and cabling deserve the same caution. A layout that passes every fit check can still trap hot air between a mini PC and the shelf above it, or leave no space behind a patch panel for cable bends. Treat the tool's output as a fit check, not a finished design.
What It Means for Makers
For anyone planning a 10-inch rack, and a printed one in particular, PrintableRacks takes care of the geometry before any filament or money is spent. The most useful features are the width check against the 222 mm opening, the depth overhang readout and the rail-standard filter, because these are the mistakes that most often cost a reprint or a returned purchase. The print-and-buy list with filament estimates and source links turns a layout sketch into a shopping and print plan.
A reasonable workflow is to build the rack in the planner, export the CSV, and then make the decisions the tool leaves to you. Leave a spare U or extra headroom for airflow near warm devices. Plan cable runs at the rear. Since no current frame publishes a load rating, decide on your own print settings and material for the frame based on the total weight the tool reports. If your hardware isn't in the 706-part catalog, the import option means you can still model it.
It's free, needs no account to plan, and saves your work in the browser (the site says downloading print kits needs a free account), so trying it costs very little. Just remember that it checks whether the parts fit, not whether the finished rack will run cool and carry the weight.