PrusaSlicer
Every FilamentFeed story on PrusaSlicer — news, reviews, and analysis, newest first.
-
Guides
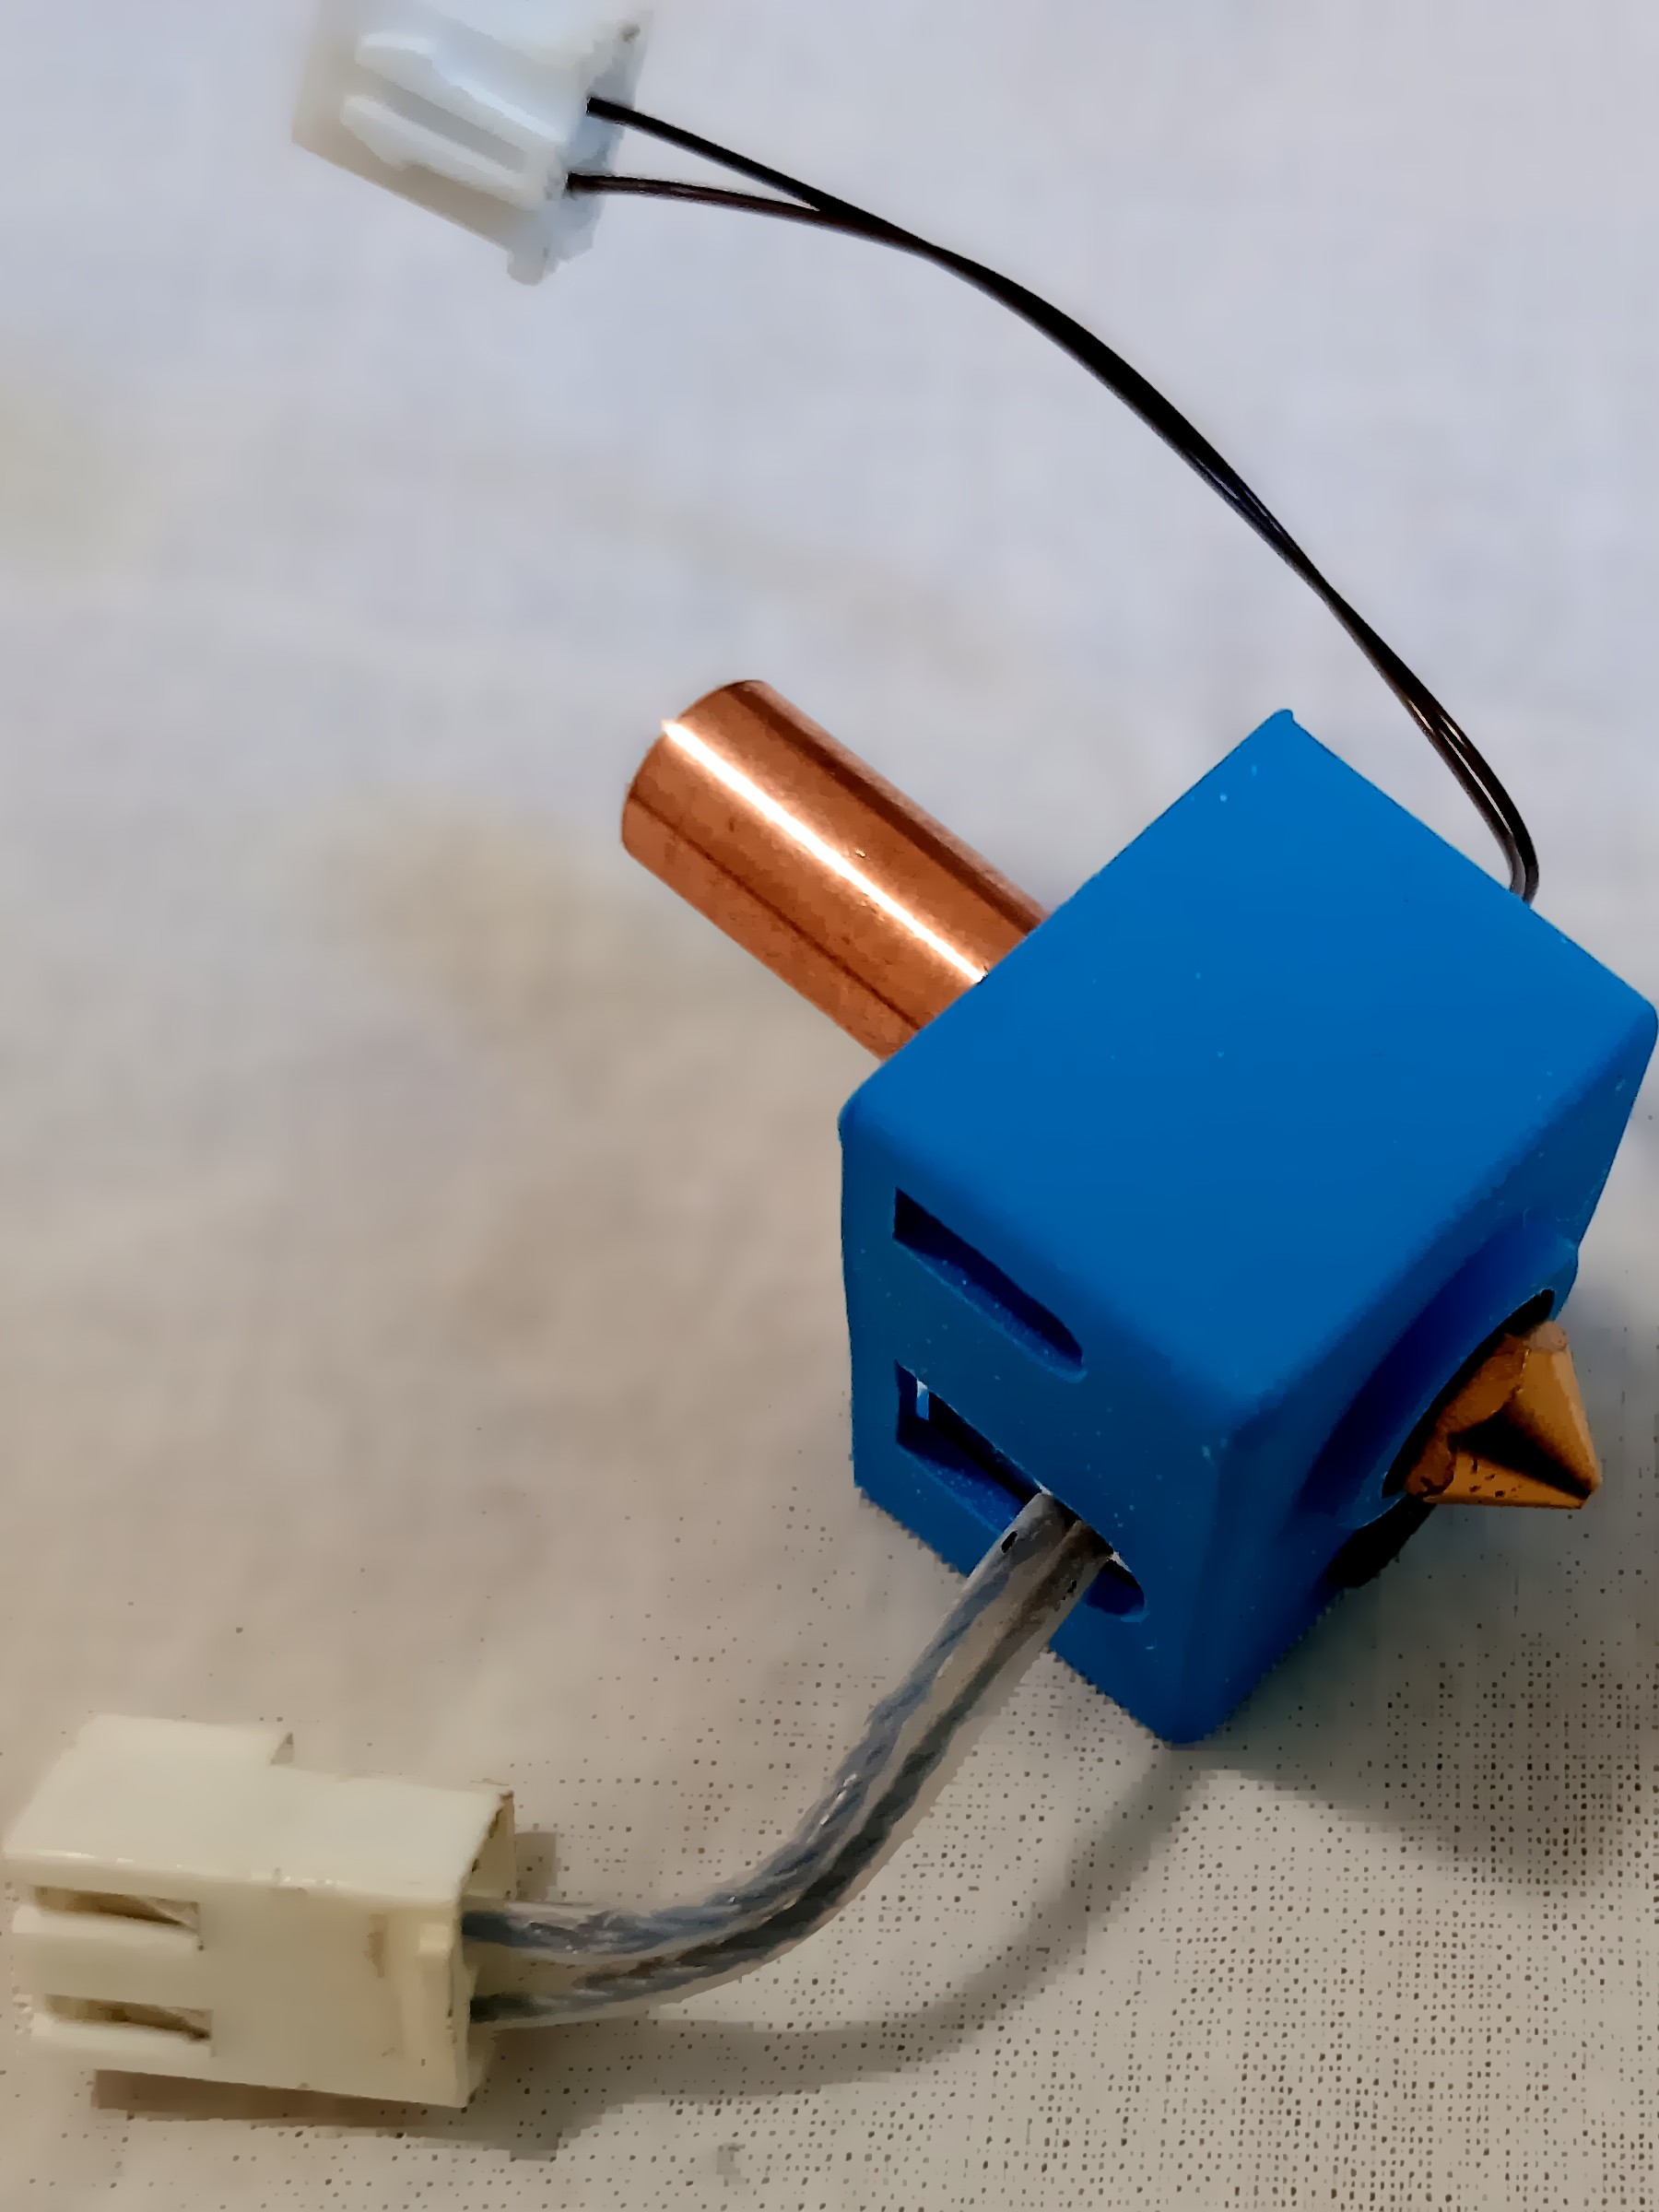
3D Printer Nozzle Size Guide: 0.25mm vs 0.4mm vs 0.6mm vs 0.8mm-1.0mm
Prusa and E3D manufacturer data on how nozzle diameter caps layer height and flow rate, with per-size guidance for detail work, general printing, and speed.
-
Guides
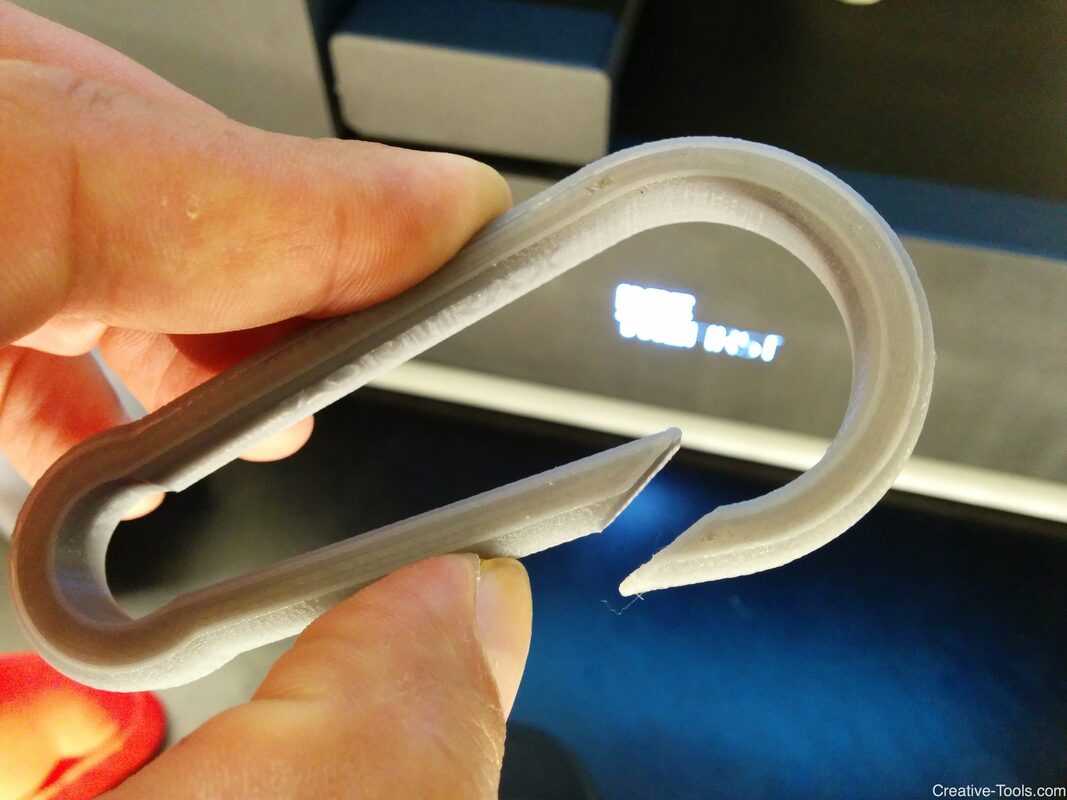
Snap Fit Design for 3D Printing: Deflection Math, Tolerances, and Material Tradeoffs
Cantilever and annular snap fits are deceptively simple mechanisms that FDM printers struggle to reproduce reliably. Here is the geometry, deflection math, clearance strategy, and material selection logic to get them right on the first print.
-
Guides
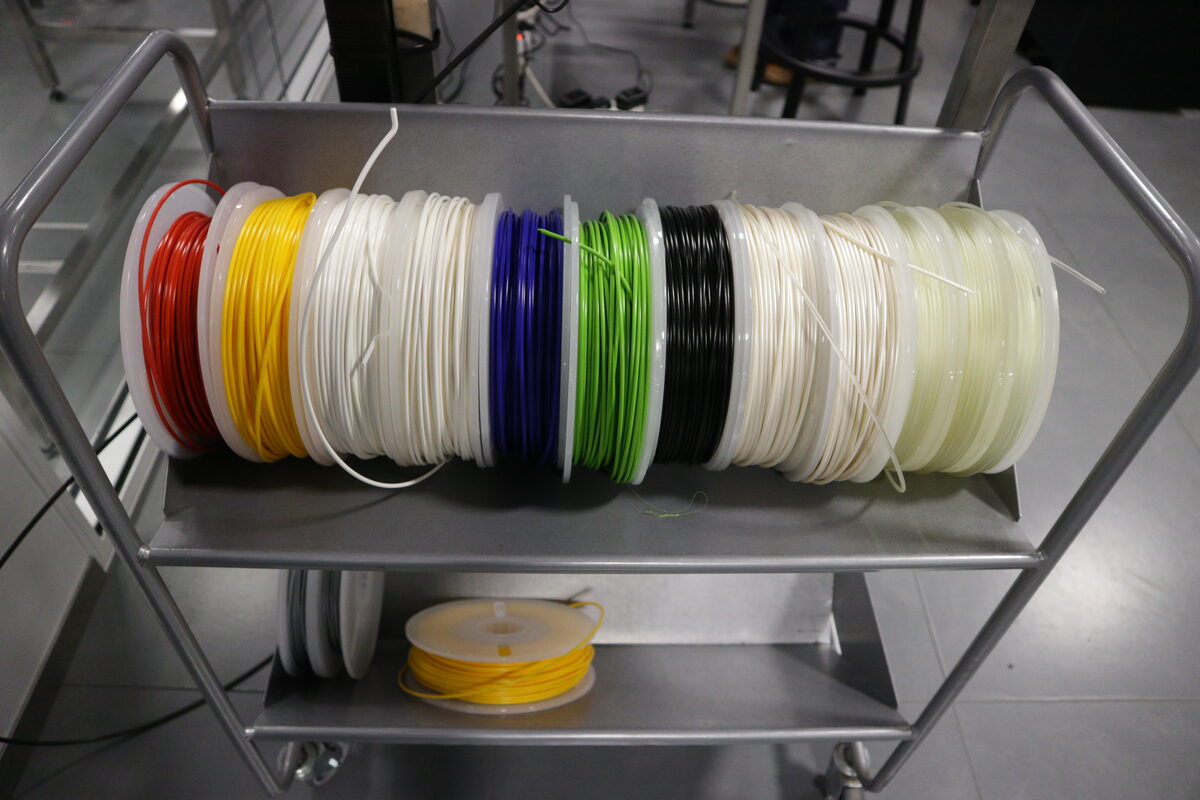
Manual Color Swaps Without an AMS: G-Code Pause Commands in PrusaSlicer, OrcaSlicer, and Bambu Studio
Multi-color printing without a filament changer is entirely achievable using M600 and pause-at-layer commands. The slicer implementations differ in important ways, and getting the G-code sequencing wrong produces failed swaps, ooze blobs, or color bleed that contaminates the swap layer.
-
Guides
Variable Layer Height: How Adaptive Slicing Gets Better Surface Quality Without the Time Penalty
Adaptive or variable layer height lets slicers use thin layers where they matter and thick layers where they don't. The result is better surface quality at nearly the same print time.
-
Guides
Infill Patterns and Density: The Complete Guide to Stronger Prints
Gyroid, grid, honeycomb, lightning — every infill pattern makes different tradeoffs between strength, speed, material use, and surface quality. Here's exactly when to use each and how density changes the outcome.
-
Guides
Support Structures Guide: Tree, Normal, and Organic Supports Explained
Support structures make complex prints possible but add time, material waste, and removal effort. This guide covers normal vs tree vs organic supports, interface layers, and the slicer settings that minimize pain.