Guides
Evergreen how-tos and buyer's guides, written in plain English with the trade-offs that actually matter.
-
Guides
Prusa's INDX Toolchanger Earns Editor's Choice: Nearly Waste-Free 8-Color Printing at $2,249
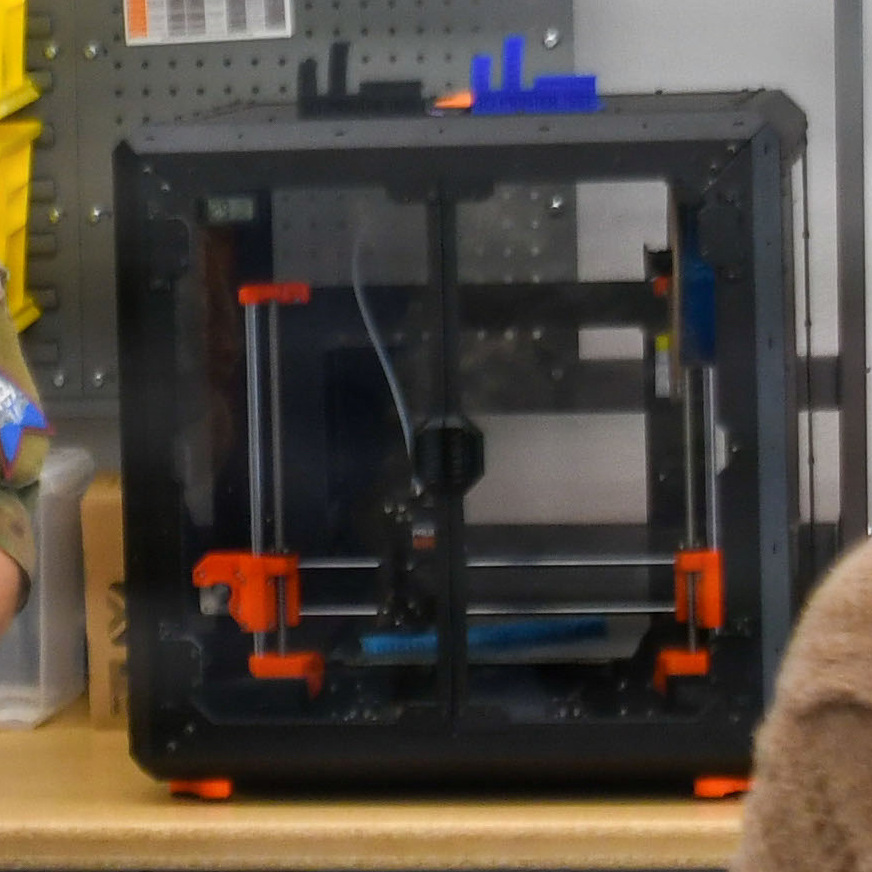
Tom's Hardware gave the Prusa CORE One+ INDX a 4.5/5 Editor's Choice, praising a wiper-based toolchanger that purges just ~13mg of filament per color swap — no prime tower required — for $2,249.
-
Guides
Tom's Hardware Tests the Prusa CORE One+ INDX: A Waste-Free Toolchanger
Tom's Hardware's hands-on review of the Prusa/Bondtech INDX toolchanger on the CORE One+ Gen 2 finds induction-heated, purge-tower-free 8-color printing at Core-XY speed — for a real-world $2,249.
-
Guides
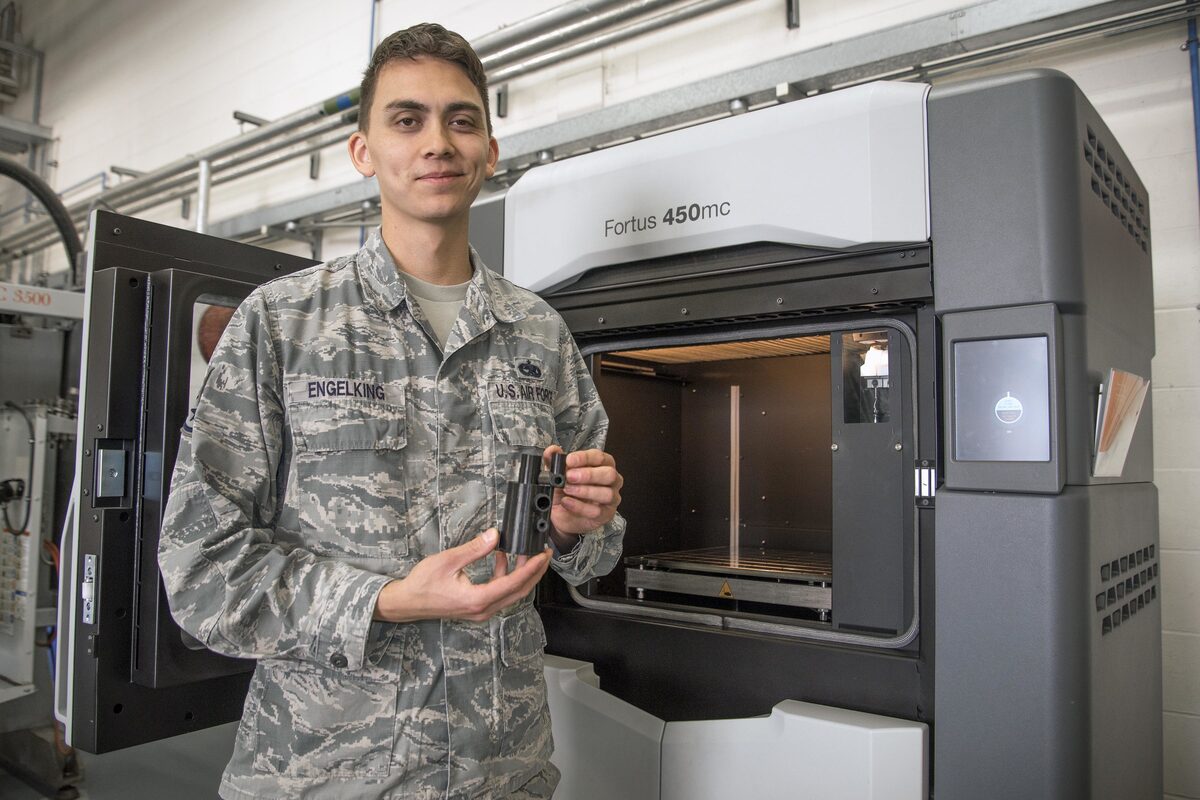
A YouTuber Pit $250 Desktop PC-ABS Against a Six-Figure Stratasys Fortus — the Industrial Machine Barely Won
My Tech Fun's head-to-head found desktop PC-ABS from a Prusa Core One L and Bambu Lab H2D nearly matched a six-figure Stratasys Fortus 450mc on strength and beat it on looks, with dimensional accuracy the industrial machine's only clear win.
-
Guides
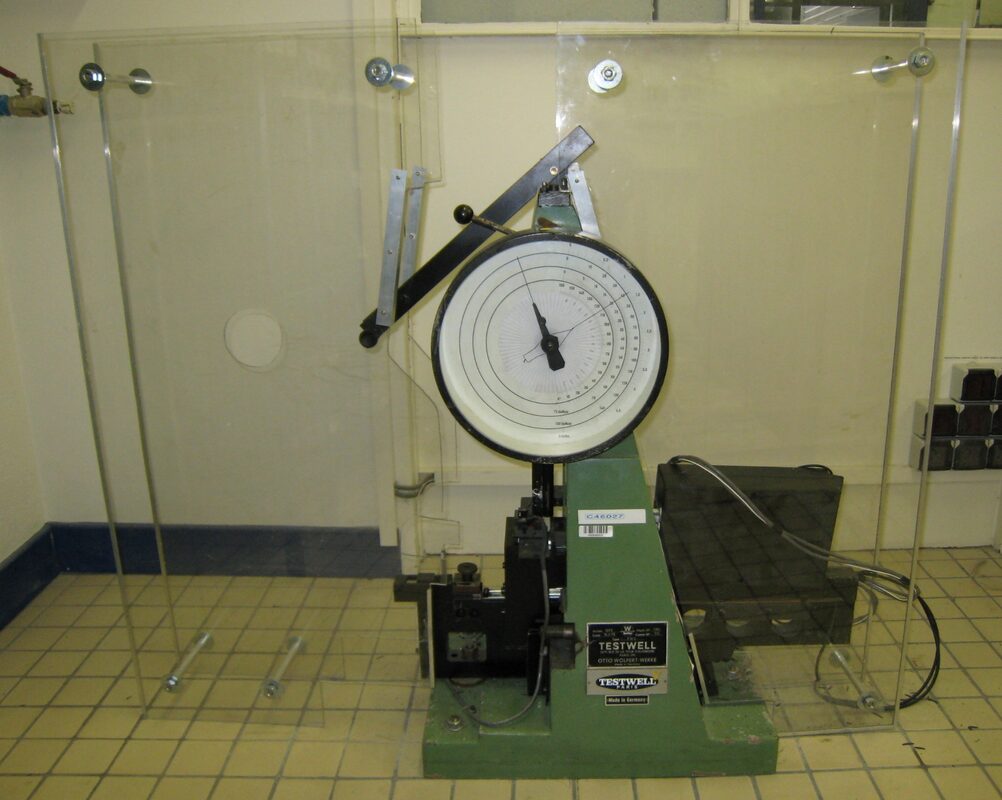
PCTG vs. PETG: MyTechFun's Impact Test Settles the Toughness Question
A side-by-side Izod impact test on matched Fiberlogy PETG and PCTG spools shows PCTG bending instead of snapping — but that toughness comes with ASA-like print temperatures.
-
Guides
Has FDM 3D Printing Hit Its Ceiling?
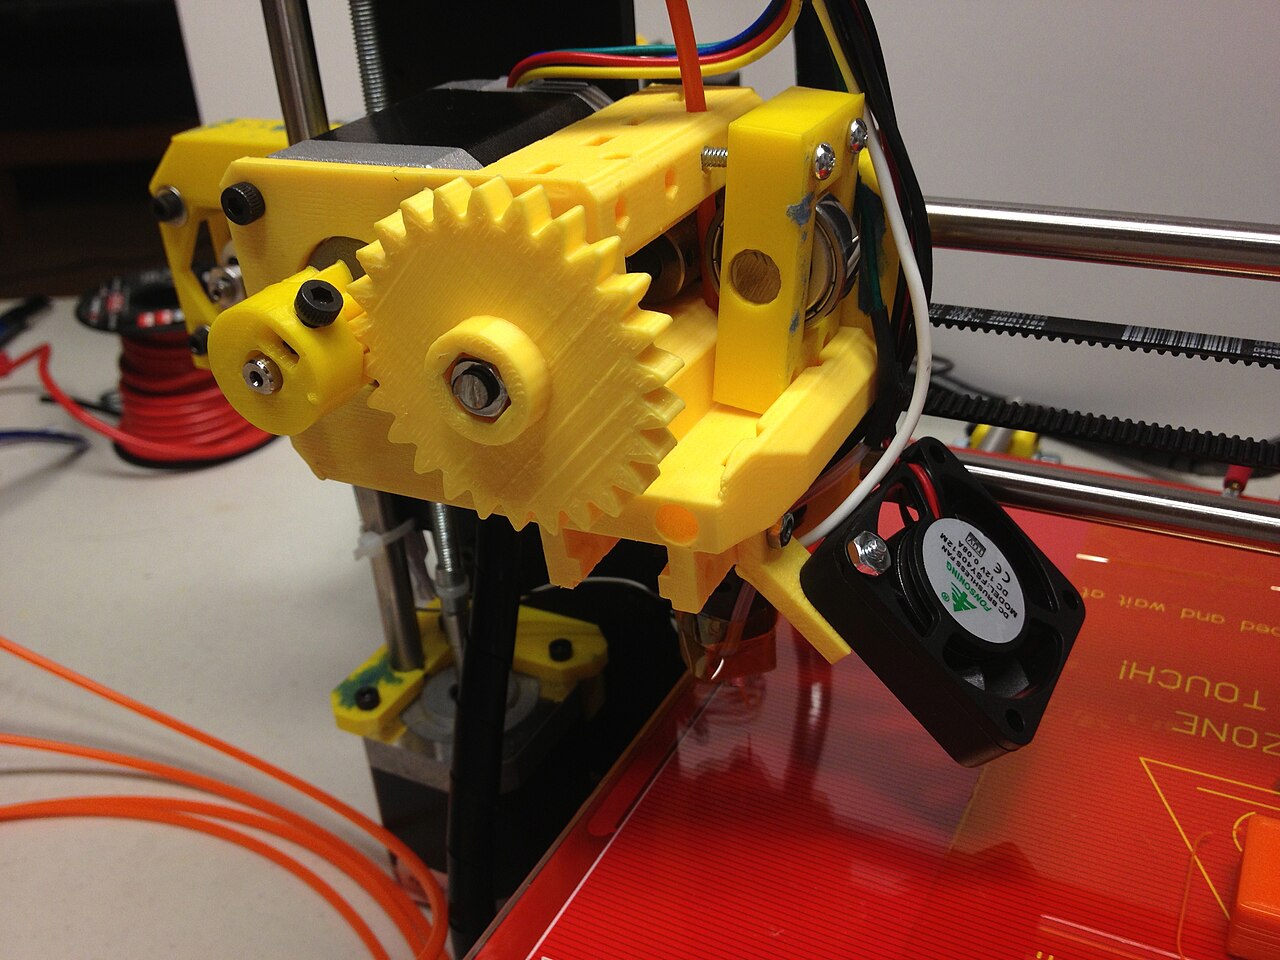
A Hackaday analysis argues consumer FDM has stalled mechanically since 2020 even as color and tool-changing trickle down to budget machines — so is it time to look past the nozzle?
-
Guides
Two Lasers, One X-Axis: A Maker's Chemical-Free Route to Glassy FDM Surfaces
Building on his laser layer-adhesion work, YouTuber 'I Changed a Thing' bolted two diode lasers to an FDM printer's X-axis to remelt top surfaces near vapor-smoothed quality with no chemicals, though wall smoothing remains a much harder problem.
-
Advertisement
-
Guides
A Maker Prints an Epoxy Benchy Inside a Shear-Thinning Support Bath
A syringe-pump extruder and a mineral-oil-and-fumed-silica support gel let a maker embedded-print a two-part-epoxy Benchy, hinting at FDM printing with materials no ordinary hot end can touch.
-
Guides
A Roman Ring Gets a 3D-Scanned Twin You're Allowed to Touch
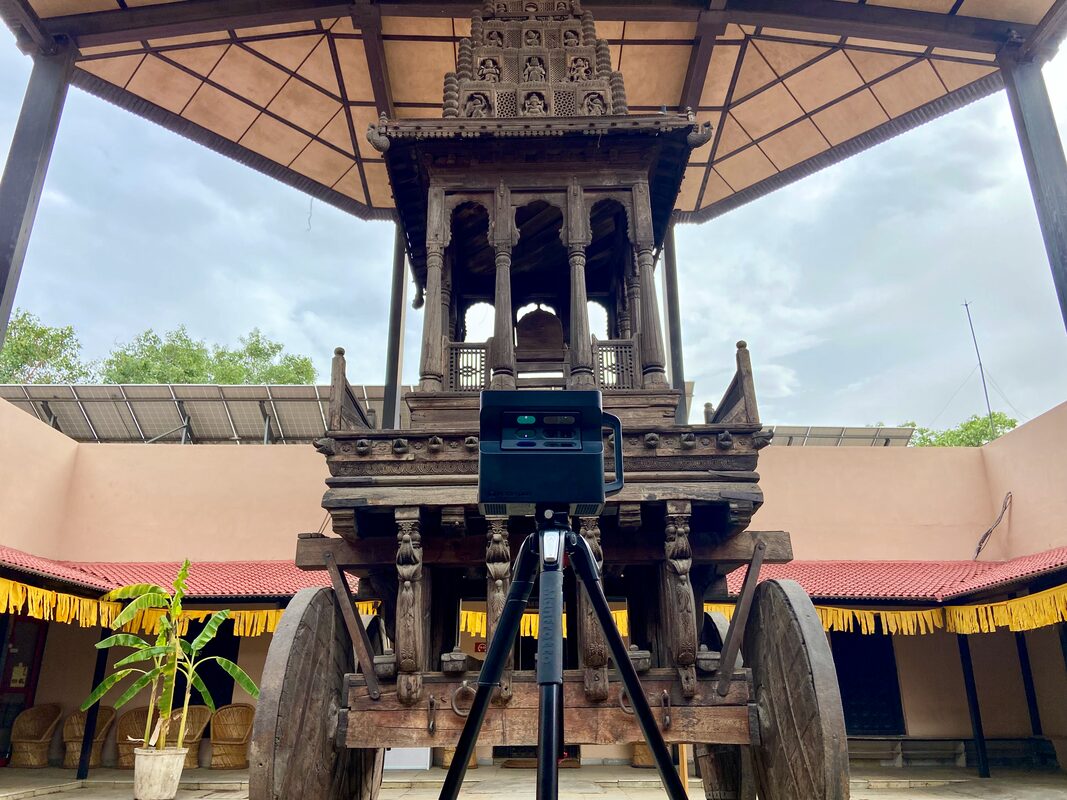
Somerset's library 3D printing service scanned a 1,700-year-old gold Roman signet ring with a Creality Sermoon P1 and printed a handling replica so museum visitors can hold what the fragile original can't survive touching.
-
Guides
3D Printing a Railway Pump Car: A Suitcase-Sized Handcar Built for Open Sauce
Makers Sam Barker and Tom 3D-printed a working, seesaw-powered railway pump car small enough to pack in airline luggage, and gave the files away free on Printables.
-
Guides
Makers Pre-Melt Layers with Lasers to Nearly Eliminate FDM's Z-Axis Weak Point
A laser-assisted pre-melt technique spotted by Hackaday pushed Z-axis breaking strain to 94% of X-axis strength on ABS and 77.9% on PLA, directly attacking FDM's oldest structural weakness: layer adhesion.
-
Guides
FDM vs. Resin, Head to Head: A Hackaday Writer's Return to SLA Printing
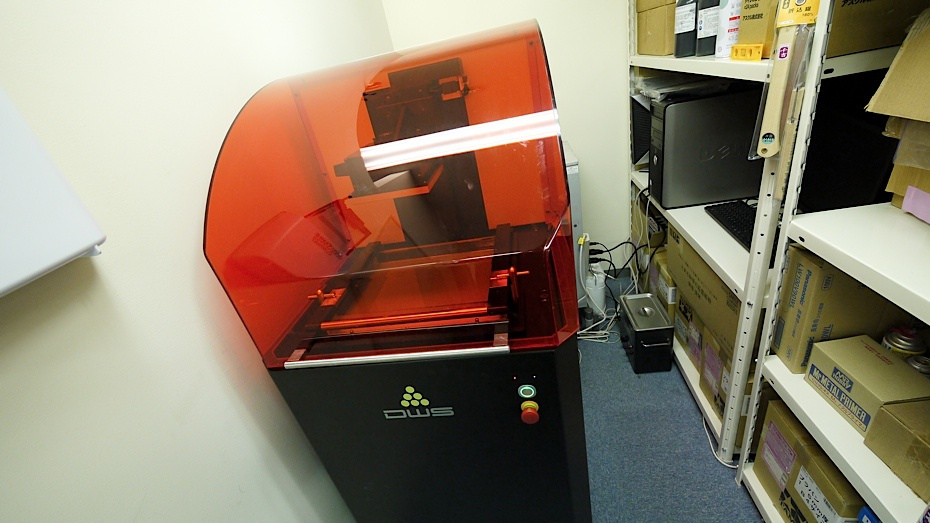
Hackaday's Maya Posch pit an Elegoo Neptune 4 against Uniformation's 16K GK3 Ultra resin printer and came away convinced SLA wins on fine detail — but warns FDM users printing ABS/ASA need real respiratory protection.
-
Guides
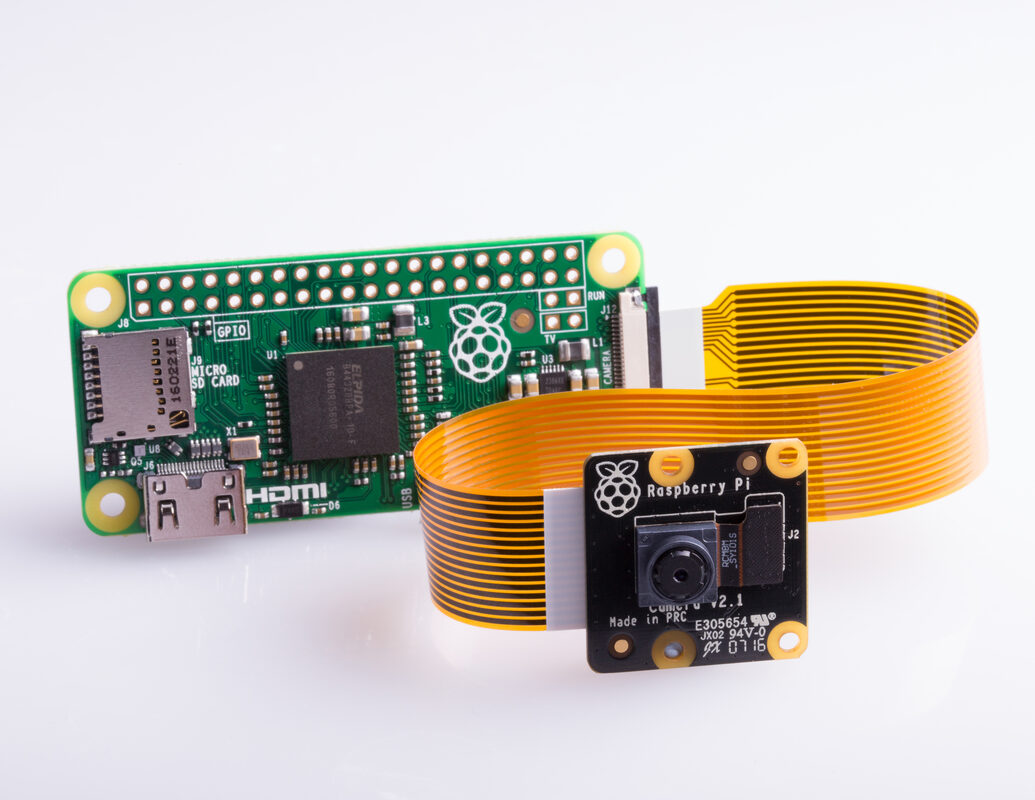
A Maker's 3D-Printed PiShot Turns a Raspberry Pi Zero Into a Pocket Compact Camera
Hobbyist Irtaza2009 open-sourced PiShot, a 3D-printed compact-camera-style case built around a Pi Zero 2 W, Camera Module 3, and a rear ST7789 screen, with full design files and Python code posted to GitHub.